If your event is cancelled or postponed for any reason, such as weather, you will want to notify your Registrants. You can use the email functionality available in Certain.
Note: You must email your Registrants before updating the Event Status. Otherwise, you may accidentally email Registrants who have already cancelled their registration for their own reason.
Emailing Registrants to Notify of Cancellation/Postponement
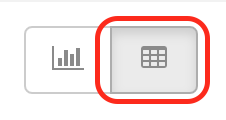
1. Navigate to the Event Dashboard, and make sure you are in Tabular view)
2. Click the Total number of applicable Status. Best practice: You may want to include customers in Pending and Incomplete statuses, so that they will also be informed.
3. In the Report Results window, Select All by checking the box next to Row at the top of the list (or check the box next to the attendees you would like to email).
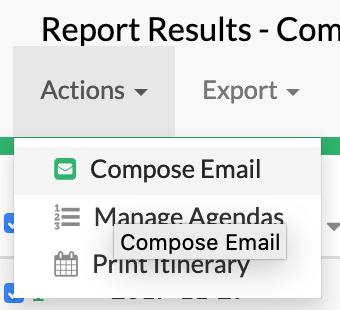
4. Select Compose Email from the Actions dropdown menu.
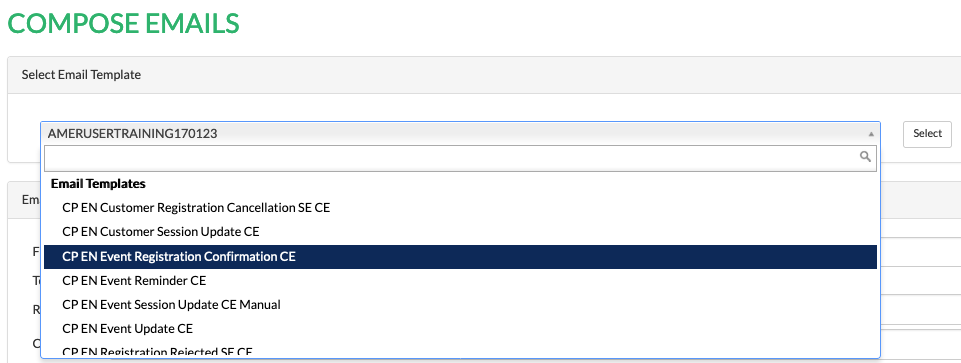
5. Compose an email from scratch, or select an appropriate Template in the Select Email Template section (if a Template was previously created in Promote > Communications > Email Template).
6. After composing your email, click Send Email NOW.
7. Update the Event Status accordingly, using the instructions below.
Updating Event Statuses
1. Within the Event, navigate to Plan > Event Setup > Details.
2. Select Cancelled or Postponed from the Status drop down list.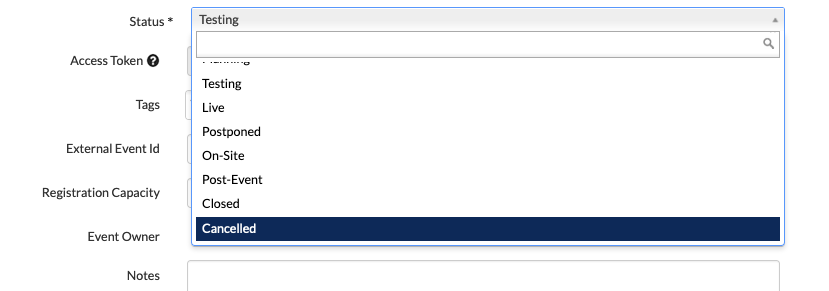
3. Click Save.
Cancelled Event Status
The Cancelled Event Status can be used if the Event is to be cancelled and will not be rescheduled. Setting the Event Status to Cancelled will result in closing all Event Forms so that they no longer accept responses. Additionally, Certain provides the option to create a custom message to display to customers when entering the Forms for a Cancelled Event. This custom message can be configured in the Customize Entry Page Message (After Event End Date) section on the Primary Form.
1. Select the Primary Form from Plan > Forms (The Primary Form will have the word Primary in parentheses next to the Form name).
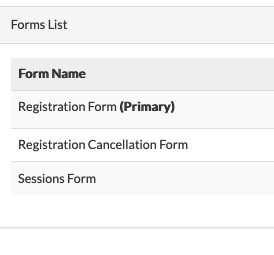
2. The Settings section on the Form Setup page will also confirm that the Form is marked as the Primary Form. Click the Advanced button located on the bottom left corner.

3. Scroll down to the Customize Entry Page Message (After Event End Date...) section, and create a custom message.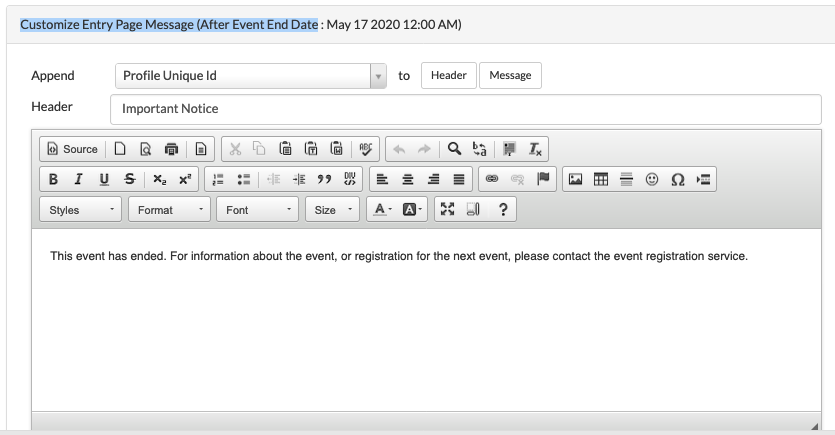
4. Click Save.
Note: Cancelling an event will result in a system check to ensure no outstanding balances are due and will require these open items to be resolved before saving the Status change to Cancelled.
Postponed Event Status
The Postponed Event Status can be used if the Event is to be rescheduled at a later date. Setting the Event Status to Postponed will enable the Event Planner to determine which Forms should be closed or left open. Upon clicking Save on the Event Details page with Postponed as the new Event Status, a window will display allowing you to select which Forms should be marked as Closed or remain Open, in case you'd still like to collect any additional data from your Attendees.
Best Practice: If cancelling or postponing an Event due to weather, for instance, add a Tag to the Event to flag this as the reason. This will enable tracking and reporting of the impacts of the situation.
Adding an Event Tag to a Cancelled/Postponed Event
- Navigate to Account Settings > Management > Tags.
- Enter a Name and Label for the Tag (i.e., Cancelled due to Hurricane).
- Click in the Object(s) field, and select Events from the dropdown.
- Click Add.
- Navigate to [Event Name] > Plan > Event Setup > Details.
- Click in the Tags field, and select the Event Tag you created.
- Click Save.
Comments
0 comments
Please sign in to leave a comment.