A Profile contains contact and other information for individuals who have attended your Events. Profiles may be potential attendees, previous attendees, existing customers or members, speakers, exhibitors, sponsors, and so on. Each Account and Sub-Account has its own database of Profiles, allowing you to separate the contact information of different companies or departments into different Accounts. Profiles are stored in the Account where they are created.
Creating Profiles
A Profile is created automatically with each new Registration that is entered into the database (unless the Registration is created from an existing Profile). A new Profile is also created when you import a Registration.
There are two ways to create Profiles in Certain:
- Manually via the Profiles tab
- Importing Registrations
Manually adding Profiles
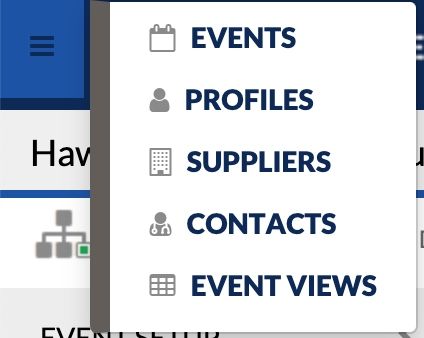
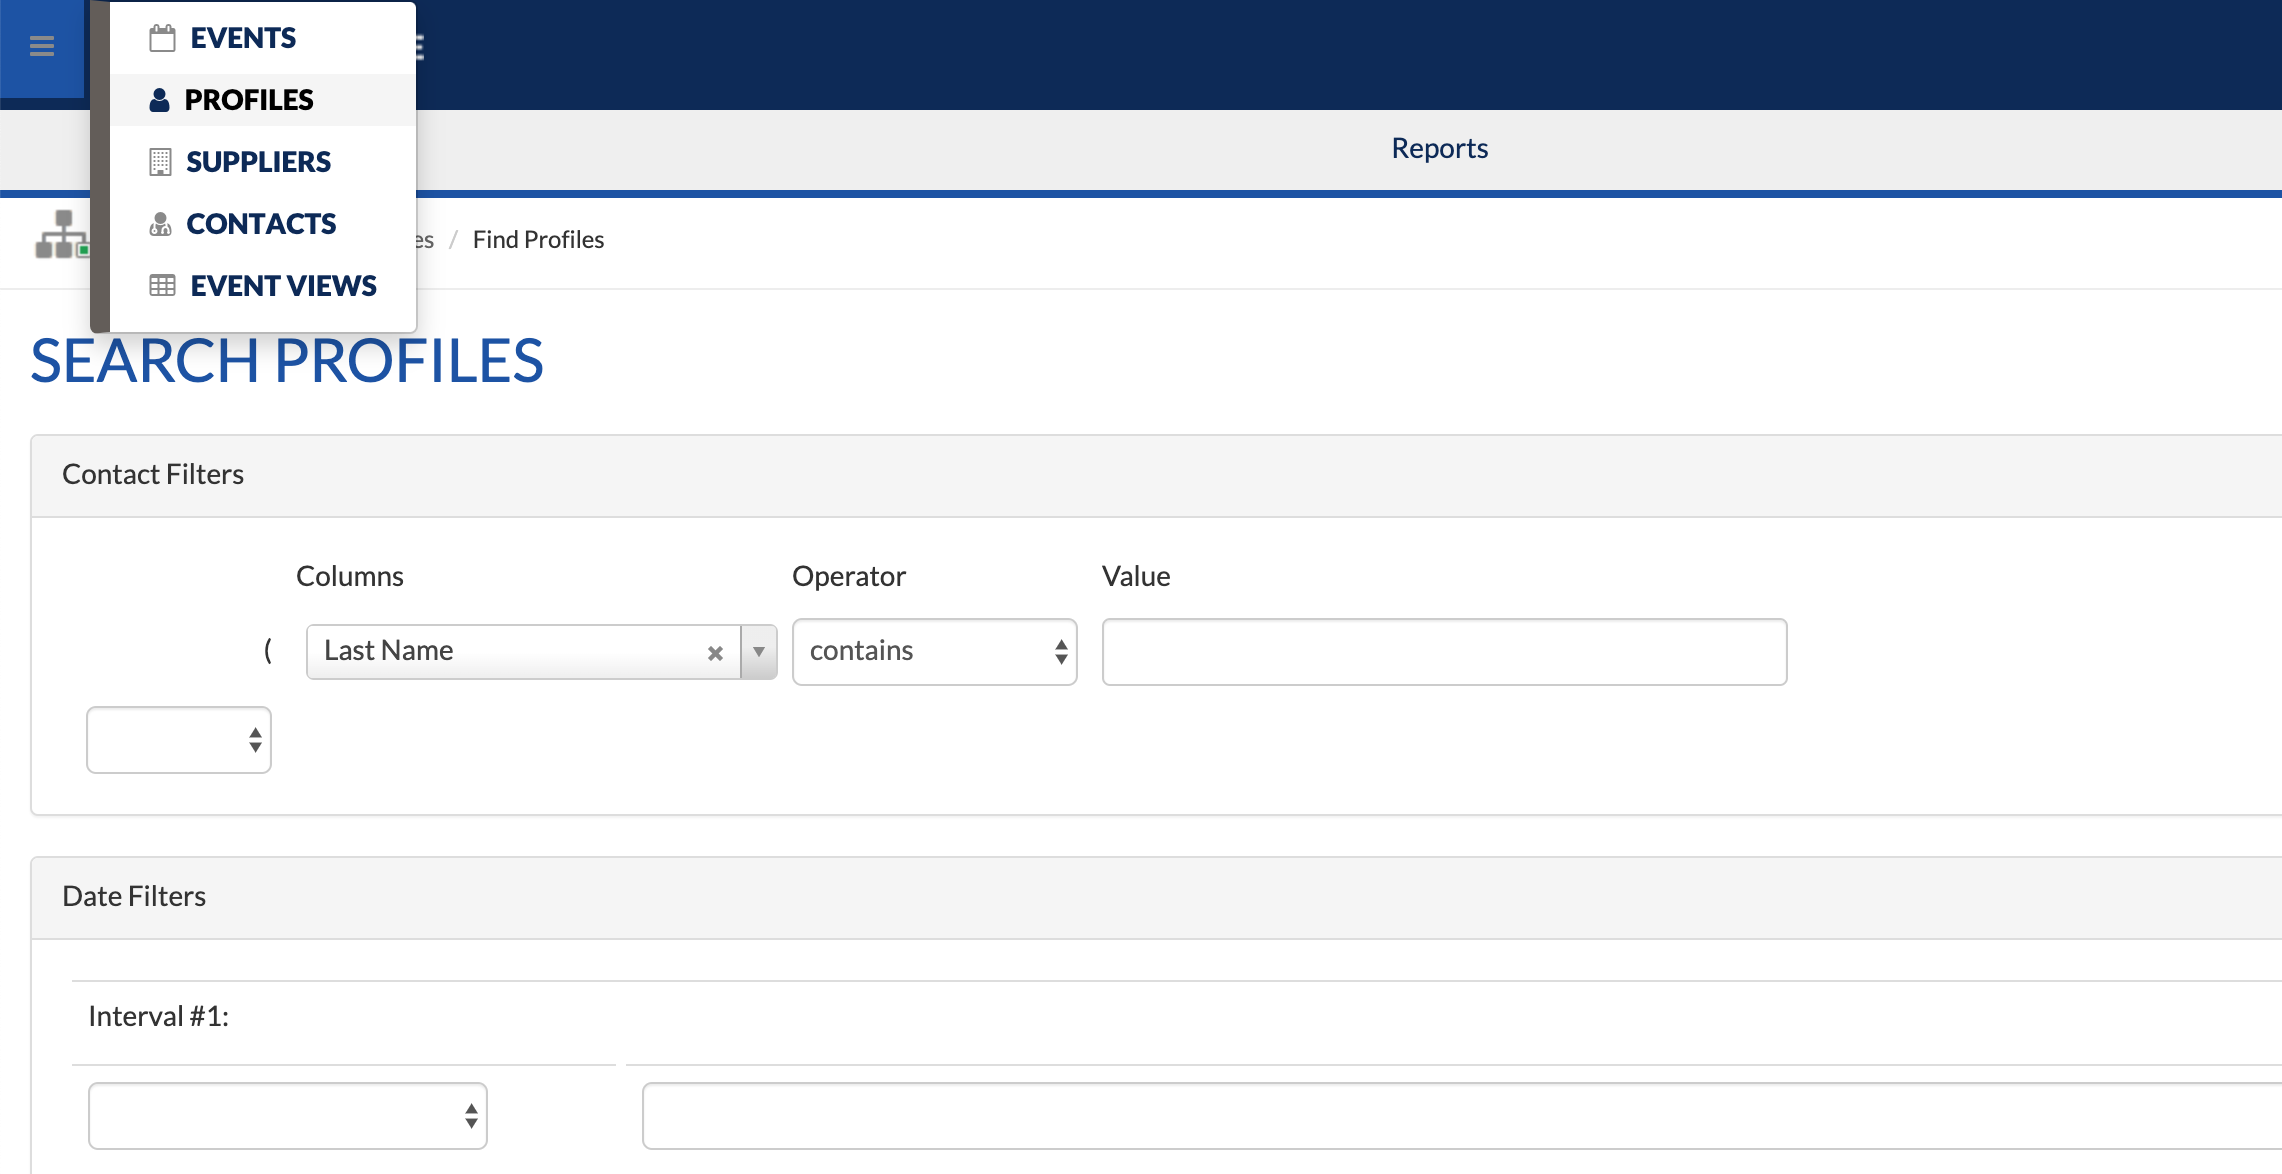
- Click on Menu (upper left corner) > Profiles.
- Click Add Profile.

- Enter all contact information for the Profile.
- Click Save.
- Optionally, click on the Questions tab and complete the Account Profile Questions for this Profile.
- Click Save.
Importing Registrations for an Event
To create Profiles via a data import, you must import Registrations for a specific Event. When you import the Registrations, a Profile will be created for each Registration.
Tip: If you want to import Profiles, but don’t have a specific Event to add them to, then create a dummy Event and import Registrations into it. The system will create Profiles for that Event’s Account, and then you can re-use these Profiles for any other Event in the same Account.
Inviting / Registering Profiles to an Event
You can invite a group of Profiles to an Event. Note that Profiles are stored at the Account level. Therefore, you can only invite Profiles that are stored in the same Account as the Event.
To invite Profiles to an Event, from within the Event:
- Click on the Profiles tab.
- Enter the Profile criteria and/or date options that will return the group of Profiles you wish to invite.
- You can optionally specify a time period or date range for when the Profiles were created or last modified.
- Click Search to perform the search. The Report Results page, containing all matching Profiles, will be displayed.
-
Tip for searching for Profiles:
If you leave all the search options blank, the entire database of Profiles will be returned. The “%” wildcard will be automatically appended to these fields – so entering “S” in the Last Name field will return “Smith”, “Simpson”, and “Shultz”.
-
- Select the checkbox for each profile you want to invite.
- Select Invite/Register from the Actions dropdown.

- The "Add a Profile to an Event" wizard will be displayed.
- Select the Event that you wish you invite/register the Profiles for.
- Indicate if you want to invite or register Profiles for the Event.
- Select Invite Profile to the Event to invite the Profile to the Event (i.e., create a Partial Registration for this Profile in the Event).
- Select Register Profile for the Event to actually register the Profile for the Event – this will create a Complete Registration for the Profile in the Event).
- Click Next.
- Select the Registration Category and Status that you want assigned to the new Registration(s).
- Review the details on the Confirmation page of the wizard and click Finish to create the Registrations.
Viewing a Registration's Profile
To view a Registration’s Profile from within the Registration record:
- Click on the Registration's Overview page. This will take you into the Profile record for the Registration. The Profile Overview shows you a summary of the Profile’s contact information, an event history for the Profile, and a message history.
- Click the Profile tab on the left to edit the Profile’s contact information.
- Click the Questions tab on the left to update the answer(s) to any Custom Profile Question(s) for this Profile.
- Click the History tab on the left to view a history of changes made to the Profile record.
- Each change record contains the following information:
- Date: Date and time the profile was changed (PST)
- Action: Type of action performed (update, insert, email)
- User: The Certain User who made the change, or “Online Form” if the change was made by the Attendee via the Form.
- Summary: Description of the change. If multiple changes were made at one time, you can click on the record to view the details of the changes.
- Each change record contains the following information:
- Click on the Email sub-tab to send an email message to the Profile.
Comments
0 comments
Please sign in to leave a comment.